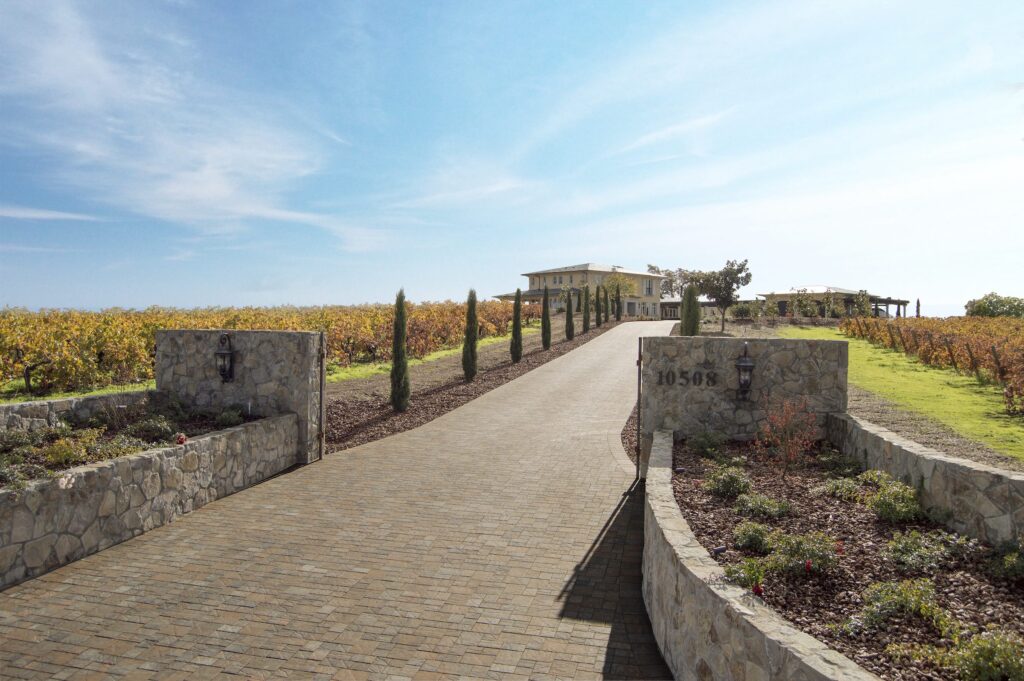
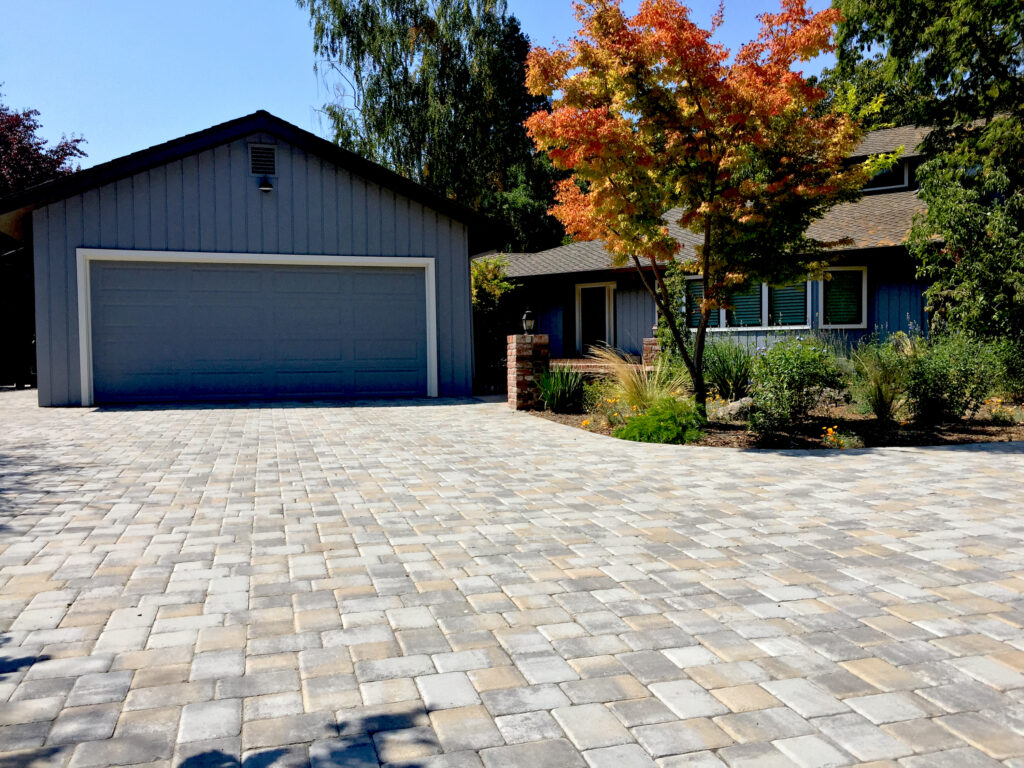
Homeowners in Northern California are all too familiar with the sight of cracked and broken concrete driveways. Not only are they unsightly, but they can also be a hazard to you and your family. If you’re tired of dealing with the maintenance and repairs that come with a concrete driveway, it’s time to consider an alternative: interlocking driveway pavers. These beautiful pavers not only add curb appeal to your home, but also provide a durable and long-lasting solution. We’ve provided a step-by-step guide to install interlocking pavers, along with some useful tips to help you make the right choices when replacing your driveway.
Benefits of Interlocking Pavers
When comparing concrete driveways and interlocking concrete pavers, keep in mind that concrete has an average compressive strength of 4,000 PSI, while pavers generally have a compressive strength of 8,000 PSI. When installing your interlocking pavers, consider factors such as the type of base material, the amount of sand needed, and the pattern you want to create.
Take into consideration these two things when adding or replacing a driveway:
Clay Soil: California has clay soil that expands and contracts. Concrete is a rigid system and doesn’t “give” whereas pavers allow for this flexibility.
Trees: California is home to more than 1,400 varieties of trees. Those tree roots are going to go wherever they want. And once it gets under concrete, it potentially will crack and lift.
Permeable Pavers vs. Sand Set Pavers
Permeable pavers are a great way to add a touch of environmental responsibility to your hardscaping projects, especially during California’s extreme weather events. With these pavers, water can pass through the crushed rock filled joint. The water will soak into the ground, reducing runoff and recharging the groundwater below. Because the purpose of permeable pavers are different, the base materials used for permeable pavers need to be different from those used for sand set pavers.
Since the permeable pavers are introducing water to the sub-base, you will need to use clean, crushed, open grade rock for the sub-base preparation. This allows water to enter the system and absorb into the native soil below. Alternatively, for sand-set pavers, the base rock contains many fines and small particles in order to achieve compaction, which is not conducive to permeable activity.
Do’s and Don’ts when Selecting Driveway Pavers
Aspect Ratio
Make sure your interlocking driveway paver selection fits the application. The aspect ratio is calculated by the longest length of the paver divided by the thickness of the paver. That number should be between 3 and 4. Heavy vehicular applications should be 3 or lower. If your driveway is more of a drive aisle with more drive activity including commercial vehicles, you need to consider the aspect ratio of the paver.
Driveway Replacement vs. New Construction
Homeowners in the Bay Area may not be required to use permeable pavers when replacing a concrete driveway. But if they are building new construction, remodeling or increasing the square footage of the residence, a stormwater management plan may be required. This requirement varies depending on the town or city you reside in. This plan could involve using permeable pavers to collect and retain water on-site and prevent potential contamination run-off into local water sources.
Vendor Selection
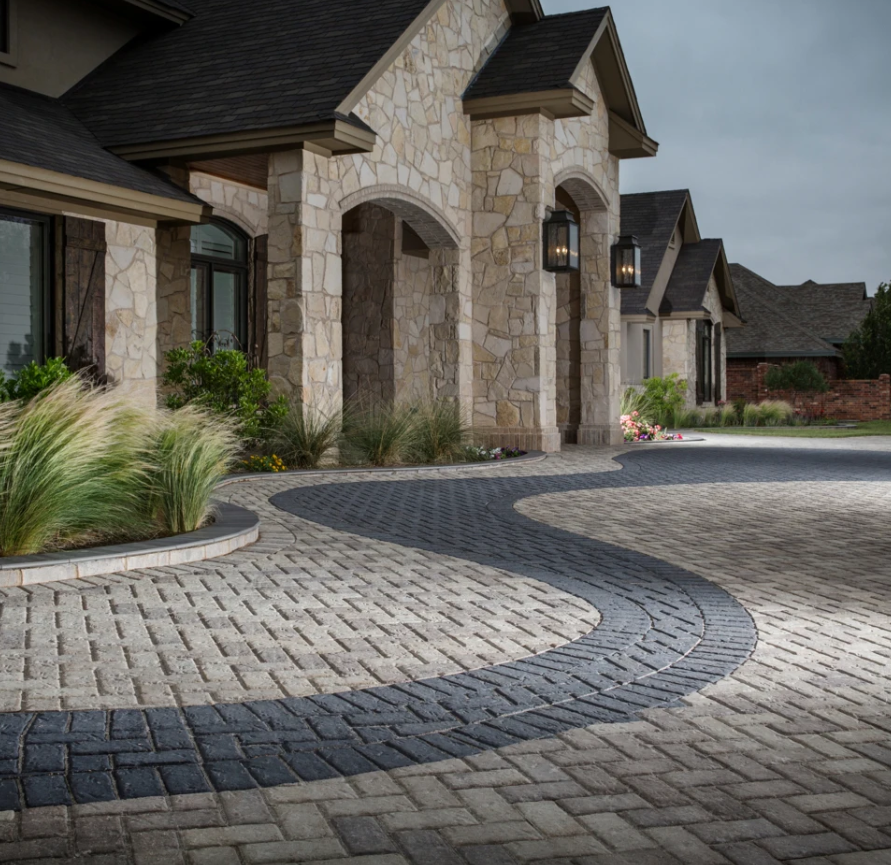
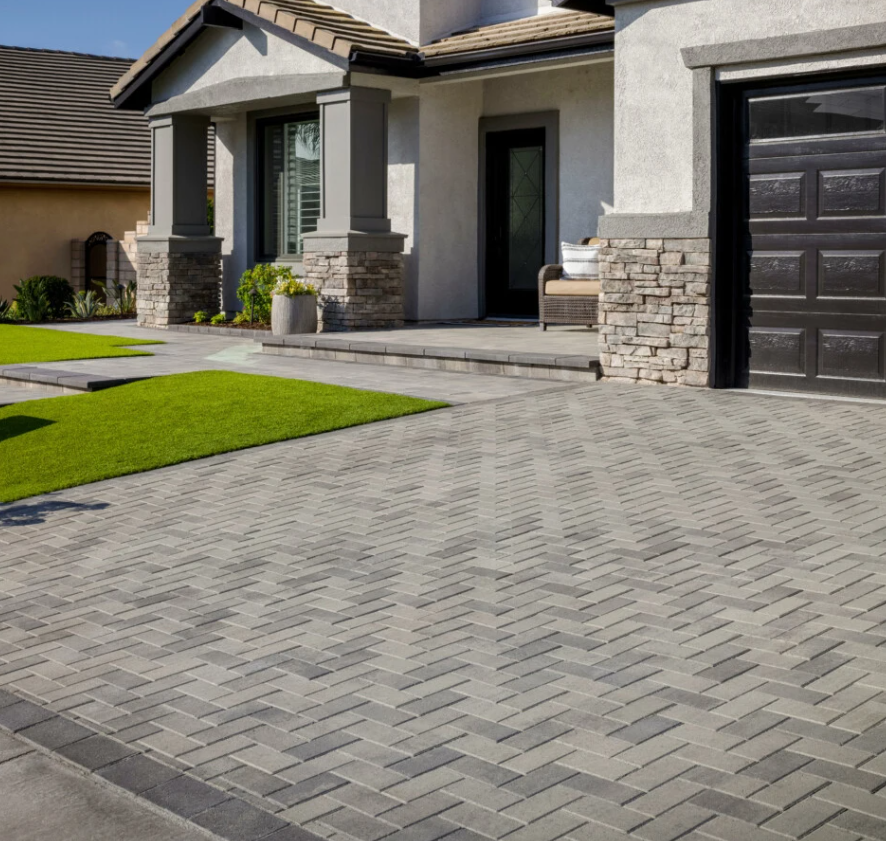
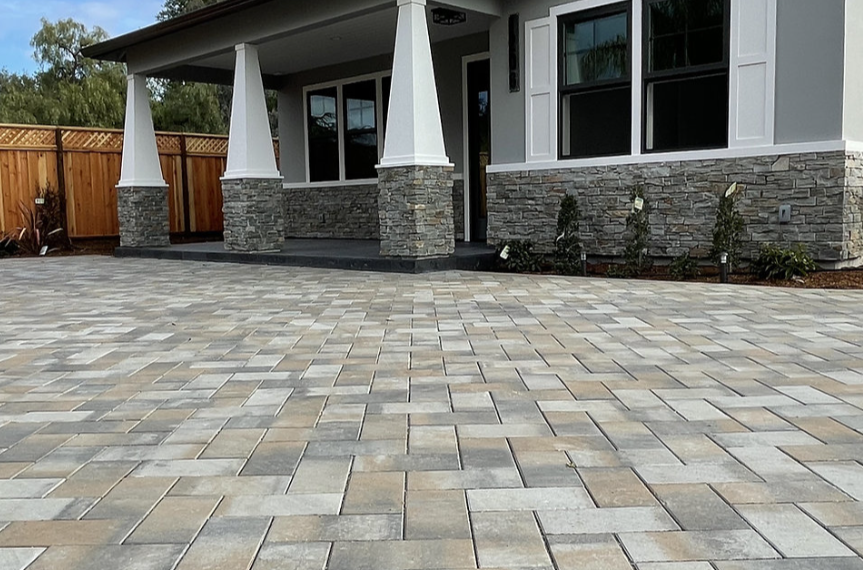
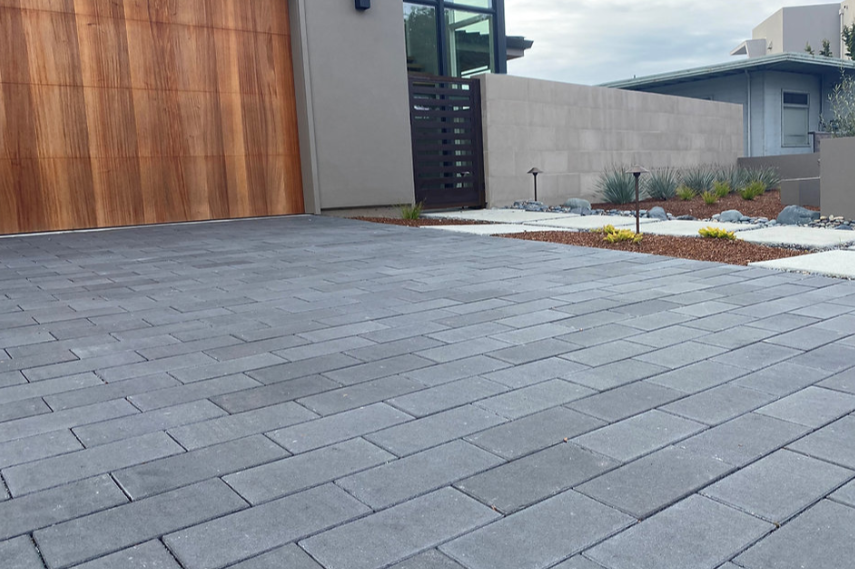
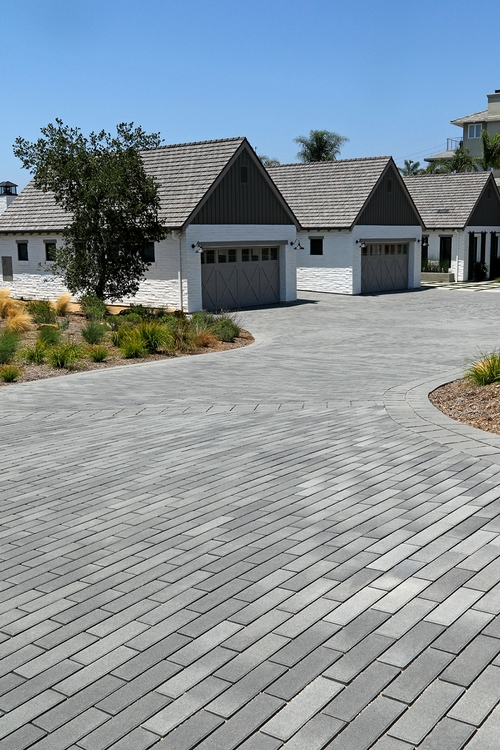
Calstone, Basalite, Acker-Stone, and Belgard are all very popular brands in the Bay Area for permeable pavers. But there are many brands for driveway pavers. HOT TIP: Greys are on trend! Calstone’s Mission Grey Charcoal and Grey Charcoal Tan are classic choices so you can’t go wrong if you chose one of those.
Measurement
In terms of size, you want to stick with a paver that is no bigger than a 12×12. Most standard pavers are 60mm thick. If the driveway requires heavy vehicular access, you should consider the use an 80mm paver.
Don’t select anything over a 12×12 on a typical “2-car” driveway. Instead, select a pattern that also utilizes 6×6 and 6×12 pavers to limit the number of 12×12 in the pattern. Consider the use of a 4×8 or 6×9 as well as 60mm (2-⅜”) thickness vs 80mm (3-⅛”) thickness.
Peninsula Building Materials is Always Available as a Resource
To help you get started on the right foot, make an appointment at the PBM Showroom with one of our product specialists for a one-on-one consultation. There are a large variety of products on display to help you visualize and touch and feel the texture of the pavers.

How to Select a Contractor to Install Driveway Pavers
While a homeowner can install a garden pathway, we recommend driveway pavers be professionally installed.
- If the driveway is not graded properly, you may accidentally divert water towards your home instead of away from your home.
- If the baserock is not compacted properly, your driveway can fail.
- The technical skills required for grading and compaction as well as establishing slope are technical and generally too important for a DIY project.
One of the most common dilemmas when starting any home project is “who should we hire?” Here are your first few steps in terms of hiring a professional contractor:
- Ask friends and family for referrals
- Read online reviews
- Collect quotes from qualified contractors
- Select a licensed contractor you feel most confident with
- Visit one of the PBM Yards to view hardscape selection and select your pavers
Prepare the Ground for Driveway Pavers
Once you’ve selected your contractor, there are a number of steps your contractor will have to complete prior to installing the driveway pavers. Depending on the size and location of the job site, this may take 1-2 weeks for demolition, base preparation and installation.
- Demolition of existing driveway – haul concrete/asphalt off-site.
- Excavate all previous base materials and native soil.
- The total excavation will vary and may include planning for the following:
- 6” compacted base rock is the minimum required depth
- Some can reach depth of 8-10 inches of base rock based on anticipated vehicular loads
- 1” concrete sand
- 2-⅜” thickness of paver
- Install Geotextile over native soil.
- This keeps the base rock from being pushed into California’s clay soil.
- Lay down 6” minimum of base rock, compact it and finish with 1” of screed concrete sand
- Base rock should be compacted at 98 percent
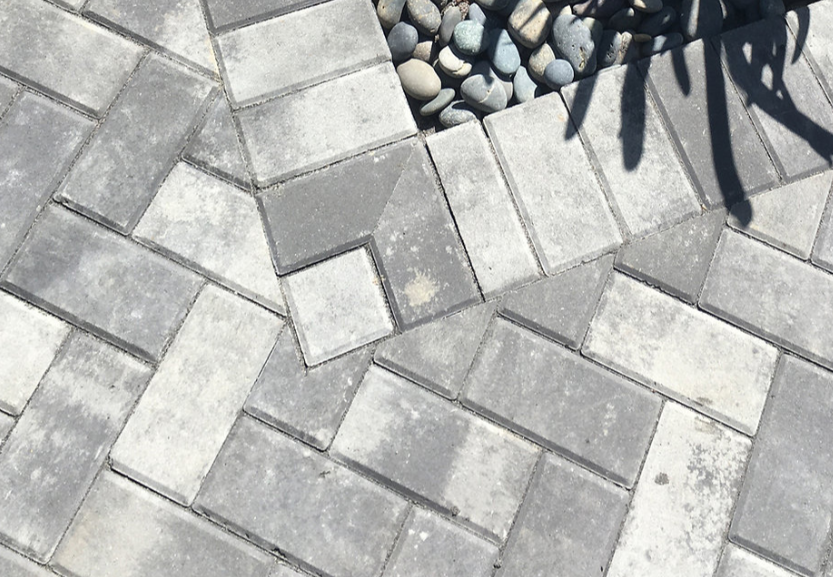
- Lay pavers
- Compact pavers
- Fill joints
HOT TIP: You can use the same preparation for a garden pathway, but you will only need 4” of baserock.
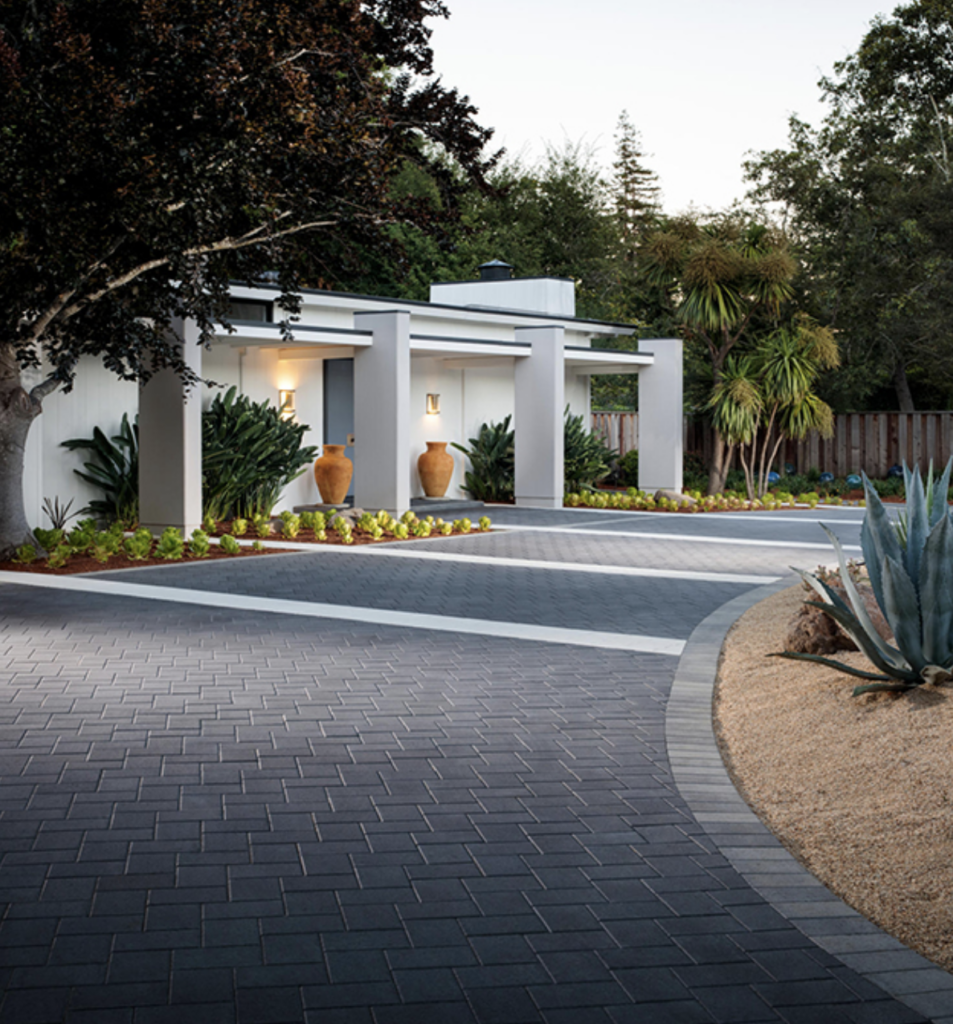
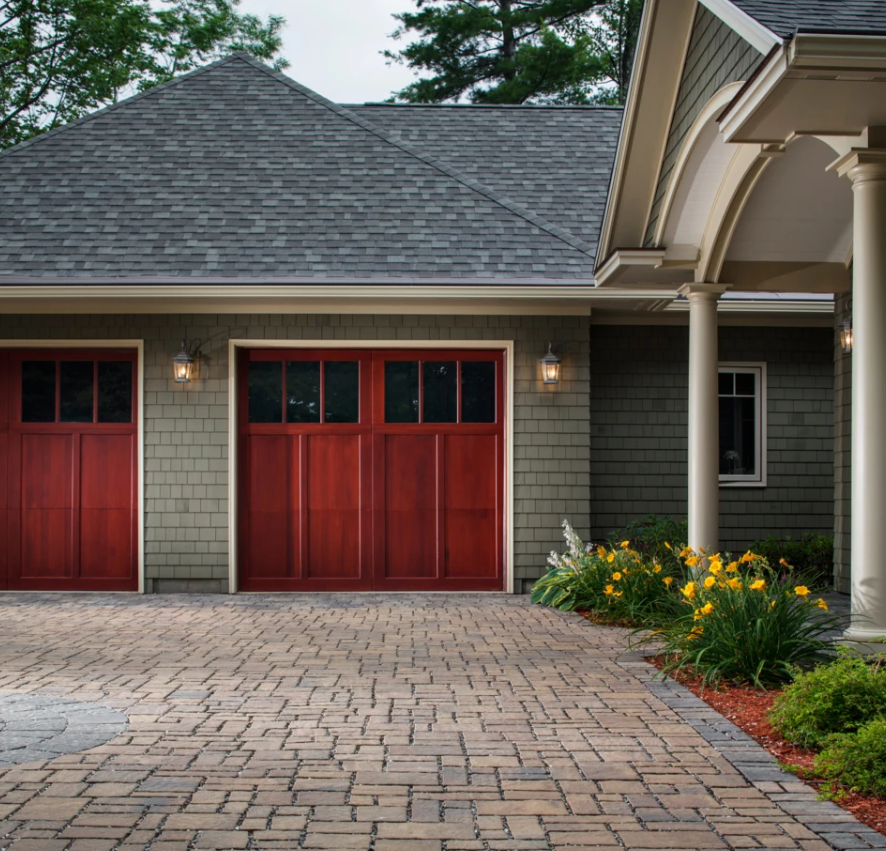
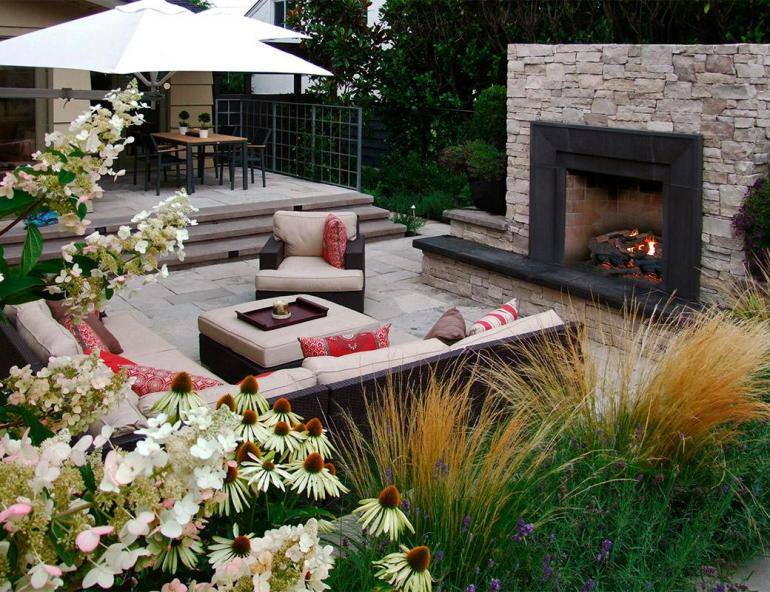
Looking for More Inspiration?
To gather more inspiration and ideas on interlocking pavers, check out the Peninsula Building Materials website. Or check out the PBM Pinterest page for more driveway ideas.
Thank you for reading the Design & Build Blog. If you have any questions or a topic you’d be interested in learning more about – leave us a comment below or on our social media. Even better, you can reach out to us directly.