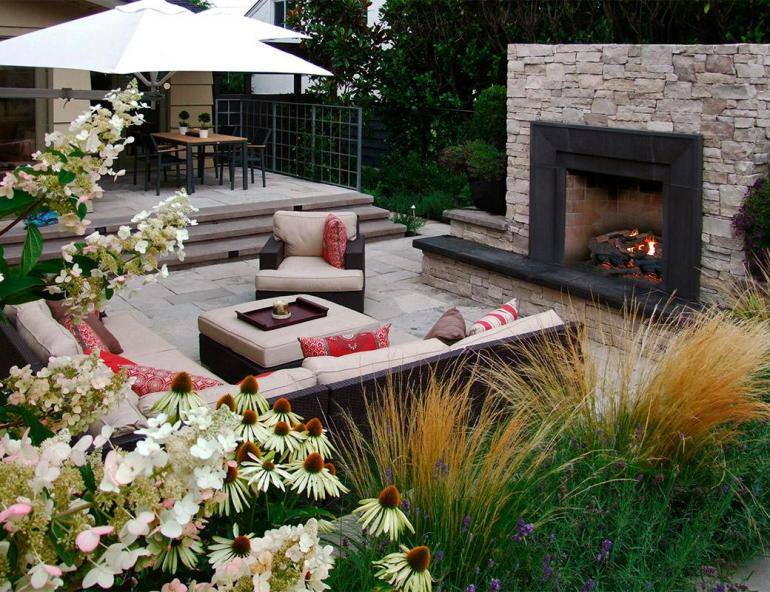
Flagstone is a popular choice for creating beautiful, durable patios and pathways. Its natural look, combined with its versatility, makes it a perfect material for outdoor spaces. Whether you’re a DIY enthusiast or a professional contractor, this guide will walk you through the different types of flagstone, the installation methods, and a step-by-step process to bring your project to life.
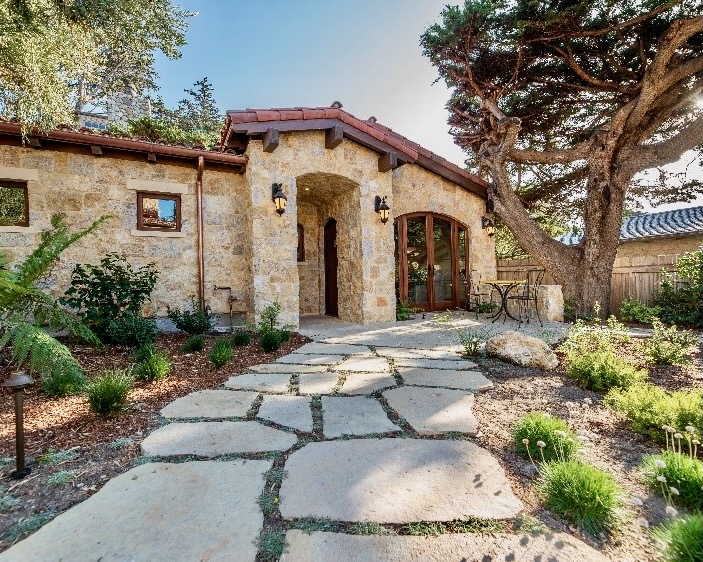
Types of Flagstone
Flagstone comes in a variety of materials, each with its own unique look and characteristics. Some of the most popular types include:
- Bluestone: Known for its blue-grey color, bluestone is highly durable and works well in both dry and wet climates.
- Sandstone: Available in a variety of colors, sandstone is softer than bluestone but provides a warm, earthy aesthetic.
- Limestone: Typically available in lighter colors like tan or gray, limestone is an elegant choice that ages beautifully.
- Slate: Slate is a dense, durable stone with a smooth texture, often available in shades of black, gray, green, and purple.
- Quartzite: Known for its sparkling finish, quartzite is a hard stone that resists fading and staining, making it ideal for high-traffic areas.

Dry Set vs. Mortar Installation
When installing flagstone, there are two primary methods: dry set and mortar set. Each has its pros and cons depending on your specific needs.
- Dry Set: This method involves laying the flagstone on a compacted gravel and sand base. It’s ideal for patios, walkways, and garden paths, as it allows for better drainage and is more flexible. Dry set installations are generally easier to repair, as you can remove and replace individual stones.
- Mortar Set: In this method, the flagstone is laid on a concrete base with mortar in between the joints. Mortar set flagstone is more permanent and less prone to shifting over time. It’s a great choice for areas where you want a more solid, formal look, such as pool decks or patios that will support heavy furniture or foot traffic.
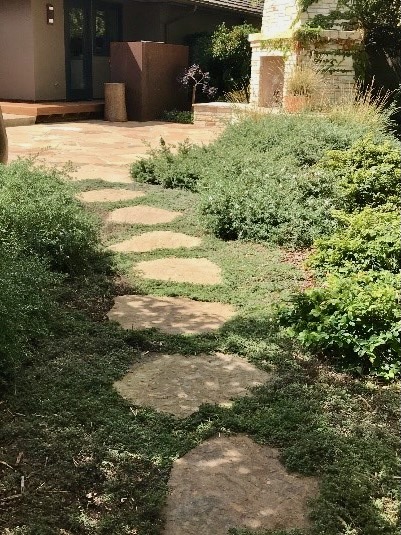
What You Will Need
Before you start, gather the following materials and tools:
- Flagstone of your choice
- Crushed gravel for the base
- Sand for leveling
- Mortar (if using the mortar set method)
- Landscape fabric
- A level
- A rubber mallet
- A shovel
- A wheelbarrow
- A broom
- A mason’s trowel (for mortar set)
- Polymeric sand (optional, for dry set)
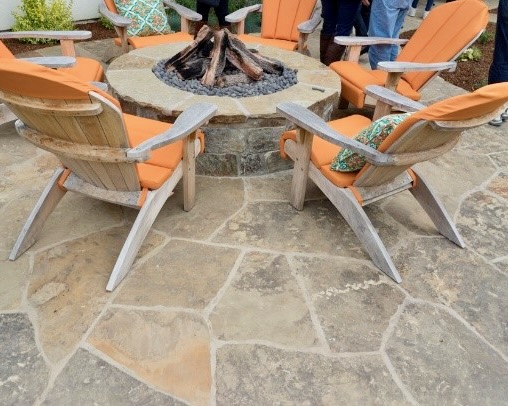
Step-by-Step Installation Instructions
1. Plan Your Design
Start by sketching out your flagstone layout. Measure the area where you’ll be installing the flagstone to determine how much material you’ll need.
2. Excavate the Area
Remove any existing grass, soil, or old patio material from the area where the flagstone will be installed. You’ll want to dig down approximately 4-6 inches, depending on your desired final height.
3. Add the Base Layer
For a dry set installation, add about 3-4 inches of crushed gravel to the excavated area. Use a rake to spread it evenly and a plate compactor or hand tamper to compress the base. This ensures a solid foundation that allows for good drainage.
For a mortar set installation, you’ll pour a 3-4 inch concrete base instead of gravel.
4. Lay Landscape Fabric (Optional)
To prevent weeds from growing between your flagstones, consider laying down a layer of landscape fabric over the gravel before adding the sand.
5. Add Sand or Mortar
If using the dry set method, add a 1-inch layer of sand over the compacted gravel. This layer will help you level the flagstone pieces.
For a mortar set installation, spread a layer of mortar over the concrete base with a mason’s trowel.
6. Lay the Flagstone
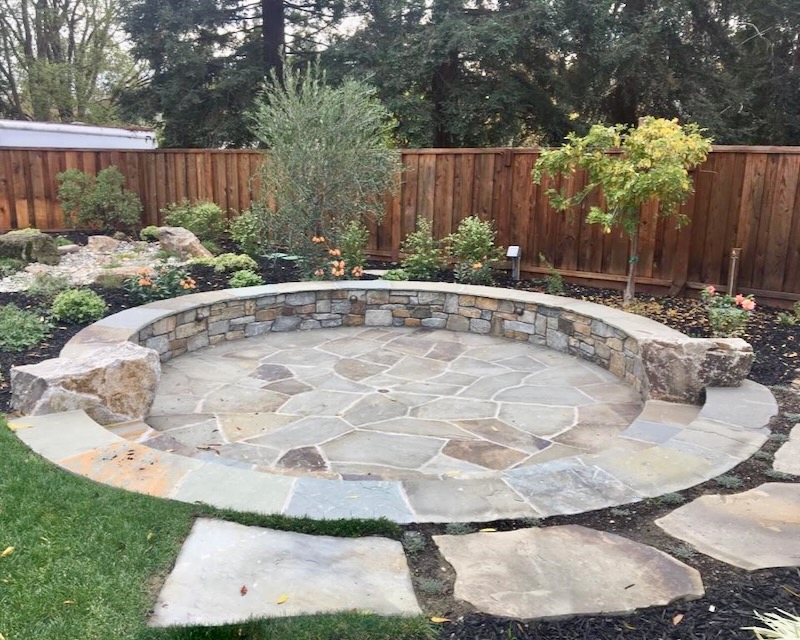
Start placing your flagstone pieces one by one, fitting them together like a puzzle. For a natural, organic look, allow irregular gaps between the stones. Use a rubber mallet to tap the stones into place, ensuring that each piece is level with the others.
For mortar set installations, press the stones into the mortar, checking each for level.
7. Fill the Joints
For dry set installations, fill the joints between the flagstone pieces with sand or polymeric sand. Sweep the sand into the cracks, and water the surface to help it settle.
In a mortar set installation, use a mason’s trowel to fill the joints with mortar, smoothing it out with a sponge or brush.
8. Clean the Surface
Once the flagstone is laid and the joints are filled, sweep off any excess sand or mortar. If using polymeric sand, ensure the surface is clean before misting it with water to activate the binding agent.
Benefits of Flagstone Patios
- Durability: Flagstone is a naturally durable material that can withstand the elements, making it ideal for outdoor use. With proper installation, it can last for decades.
- Aesthetic Appeal: Flagstone offers a unique, natural look that enhances any landscape design. Its variety of colors and textures allows for creative freedom when designing patios, walkways, and garden paths.
- Low Maintenance: Once installed, flagstone requires minimal maintenance. Occasional sweeping and cleaning are usually enough to keep your patio looking great.
- Eco-Friendly: Since flagstone is a natural material, it’s environmentally friendly and sustainable. Additionally, the dry set method allows for water to permeate the ground, aiding drainage and preventing runoff.
Installing a flagstone patio or walkway is a rewarding project that adds beauty and value to your outdoor space. Whether you choose the dry set or mortar set method, flagstone provides a natural, timeless look that will last for years. With the right materials and a clear plan, you can create a stunning patio that blends seamlessly with the surrounding landscape.
For more tips and advice on selecting the right flagstone for your project, or to find the best materials for your installation, visit Peninsula Building Materials or contact our team of experts today!


