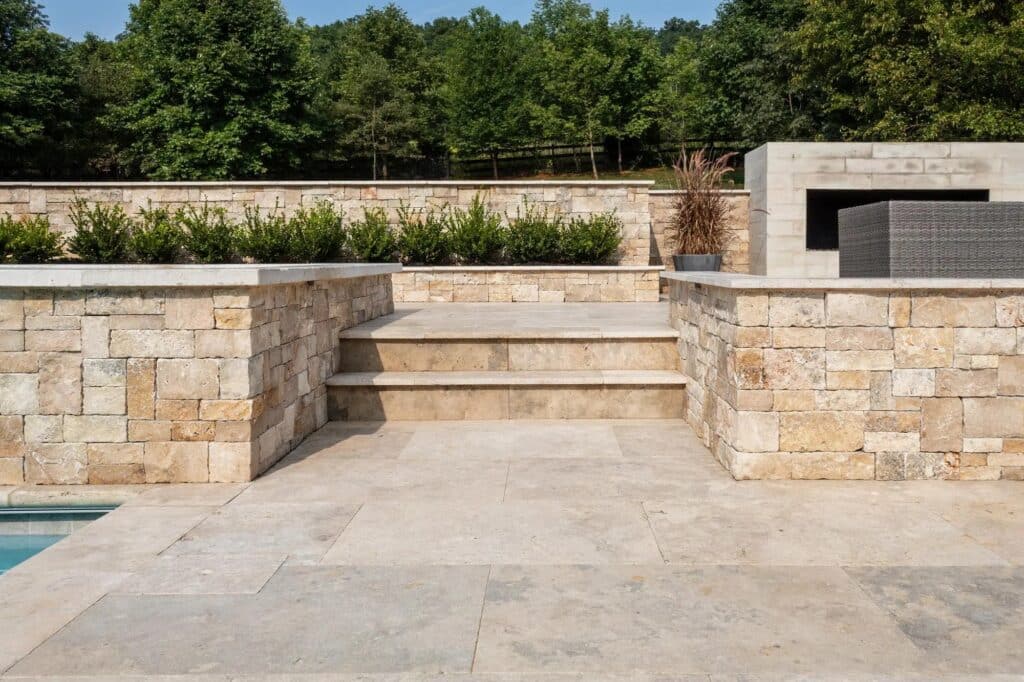
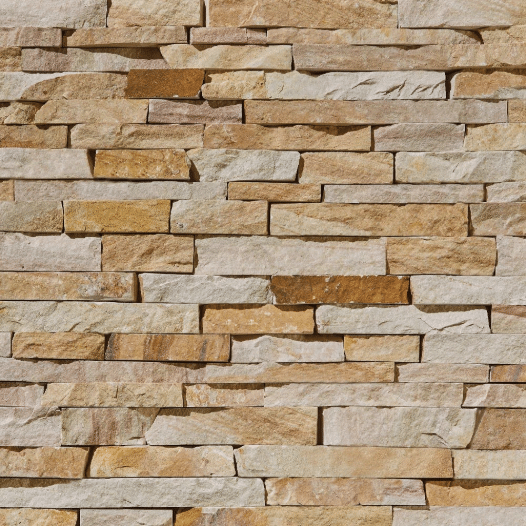
There’s a particular look people keep walking into our Mountain View showroom asking for. Stones fitted so closely together that you can barely see a joint, no wide bands of grout, the whole wall reading like it was hand-stacked by someone who took their time. In the trade it’s called a tight-fit or dry-stacked joint, and natural stone thin veneer is what gets you there.
It’s a beautiful finish, and it’s within reach for a confident DIYer on the right project. It’s also less forgiving than a standard grouted install, because there’s no grout line to hide a sloppy fit. Every stone has to earn its spot. So here’s how the work actually goes, step by step, plus the one detail that separates a tight-fit wall that looks hand-laid from one that looks like it’s about to slide off.
A quick note before we start. This guide is about the tight-fit look specifically. If you want the broader walkthrough of thin veneer in general, including standard grouted joints, we covered that in our Guide to Installing Thin Stone Veneer. Read this one when the grout-free, dry-stacked finish is the look you’re after.
First question: is your wall actually ready?
Most veneer problems trace back to what’s behind the stone, not the stone itself. So before any mortar comes out, the surface has to be clean, structurally sound, and free of dust, paint, sealer, or anything else that keeps mortar from bonding.
What you do next depends on what you’re sticking the stone to.
Over wood or steel framing. You can’t just trowel mortar onto plywood and hope. The wall needs a weather-resistant barrier first, then galvanized metal lath fastened into the studs, then a scratch coat of mortar that gets scored and left to cure for about a day before you set a single stone. The Natural Stone Institute and the masonry trade’s install guidelines both spell this assembly out, and for exterior walls it’s also a code requirement. If you’re working outdoors, building code in most of California calls for two independent layers of water-resistive barrier over wood sheathing, plus a weep screed at the base, with the stone held at least 4 inches above soil or 2 inches above paving so water can drain out instead of wicking up. You can read the exact language in the California Residential Code, Section R703.
Over clean concrete or block. Here you catch a break. New or untreated concrete and unpainted CMU can usually take stone directly, as long as the surface is clean and nothing’s been used to waterproof or seal it. If it has been painted, coated, or troweled glass-smooth, you’re back to lath and a scratch coat.
What you can’t do is install over drywall or any painted surface. The stone is heavy and the bond won’t hold. Inside, over a fireplace for instance, cement board is the usual answer instead of drywall.
If all of that sounds like more than you signed up for, that’s worth knowing now rather than halfway up the wall. We’ll come back to when it’s smarter to bring in a mason.
Lay the whole thing out before you stick anything down
This is the step people skip, and it’s the one that makes a tight-fit wall look intentional instead of patchy.
Natural stone is natural, which is the whole point and also the catch: color and size vary from crate to crate. Pull from several boxes at once and dry-lay a good section on the ground first, around 25 to 30 square feet, roughly how it’ll go on the wall. Mix the sizes, spread the colors around, and pull out any pieces caked with quarry dust so they don’t end up fighting the bond. You’re basically auditioning the wall before you commit to it.
For a tight-fit look especially, you want a healthy mix of sizes. Big stones anchor the field, smaller ones fill the gaps between them, and that variety is what lets everything nest together without leaving holes.
Mortar, and the tight-fit setting move most people miss
Now the wall goes up. Start at a bottom corner and work upward in small sections.
On mortar: for the scratch coat and the setting bed, the trade guidelines call for a Type N or Type S mortar that meets ASTM C270. Type N is the easy general-purpose choice for most above-grade and interior work; Type S is the stronger one you reach for outdoors and on anything that has to handle more load or movement, which matters here in earthquake country. For interior projects over a properly prepped substrate, a polymer-modified thin-set is also an accepted option. When in doubt, match whatever your stone supplier specs for the stone you bought, and if you got it from us, just ask.
Set a level temporary starter strip, a straight 2×4 works fine, along the bottom so your first course can’t slide or sag while the mortar grabs. Place your corner pieces first, alternating their long and short ends as you go up, then fill in the flat stones working from the corner toward the middle.
Butter the back of each stone with at least a half-inch bed of mortar, and here’s the part that’s easy to shortcut: cover the entire back. No bare spots. On a tight-fit wall there’s almost no joint for water to escape from, so any hollow pocket behind a stone is a place for moisture to sit. Full coverage is what keeps that from happening. Press each stone firmly onto the wall with a slight wiggle until you feel the mortar start to grab, enough that a little squeezes out around the edges. Once it grabs, leave it. Sliding a stone after that point breaks the bond, and then you have to pull it, replace the mortar, and reset.
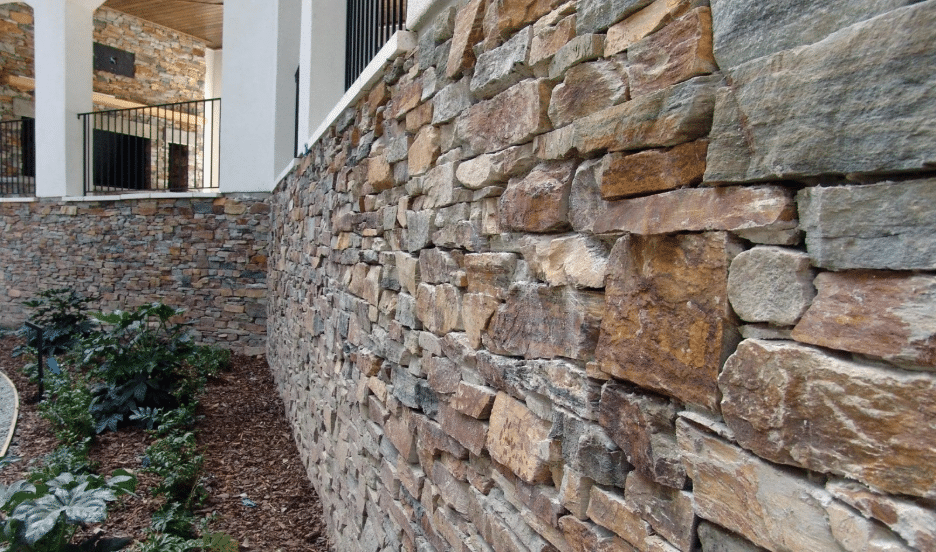
Now the move that actually defines a tight-fit install: as you finish each course, scrape the excess mortar off the top edge of the stones before it sets. That clean top edge is what lets the next course drop in tight against the one below it. Skip it and you get a mortar ridge that holds every stone above it a quarter inch too high, and the gaps start creeping in. Fit each stone to its neighbors like a puzzle piece, stagger the joints so you don’t get long unbroken vertical lines, and snap a level chalk line every 12 to 16 inches as a checkpoint to keep your courses from drifting.
Cutting and filling the gaps
You’ll need to cut. For straight cuts, a handheld grinder or a masonry saw with a diamond blade does the job; for rougher breaks, a hammer and a hardened chisel and the old score-and-snap still works. Lay the stone on something solid before you strike it so it doesn’t crack in the wrong place, and wear eye protection and a dust mask, because cutting stone throws a lot of grit.
As you go, drop smaller stones and offcuts into the gaps between the big pieces. That’s how a tight-fit field closes up. Keep checking that the wall reads balanced, that nothing’s working loose, and that you’re not leaving any wide uneven gaps that catch the eye.
Cleaning up, curing, and why we don’t tell you to seal it
Keep the faces clean while you work. If mortar squeezes onto the front of a stone, don’t smear it around and don’t go at it with a wet sponge, which drives a stain into the stone that’s tough to undo. Let the droppings dry until they’re crumbly, then knock them off with a dry whisk broom or a soft masonry brush. No wire brushes, no acid washes. Then let the mortar cure per the manufacturer’s directions before the wall takes on weather, water, or heavy use.
On sealing: people ask us about it constantly, and our answer surprises them. For a natural stone veneer wall, we generally don’t recommend sealing it. Part of what you’re buying with real stone is the way it ages, the patina it picks up over years of living in your space. A sealer works against that by keeping the stone from breathing. Sealing earns its keep on pavers and high-traffic surfaces where it’s really about damp-proofing, but a veneer wall usually isn’t one of those spots. Natural stone holds up beautifully with almost nothing from you: a dusting indoors, an occasional rinse outdoors. The Natural Stone Institute’s Use Natural Stone project has plain-English care guides if you want to read more, and if you’ve got a question about your specific stone, that’s exactly the kind of thing our showroom team answers all day.
When to do it yourself, and when to call a mason
We’re genuinely happy to set up a homeowner who wants to tackle an interior accent wall or a fireplace surround. That’s a great weekend-and-a-half project and a real sense of accomplishment when it’s done.
Be honest with yourself about the harder cases, though. Exterior walls, anything structural, large elevations, and full installs in a seismic region are real masonry work, where flashing, drainage, and code clearances all have to be right. There’s no shame in stopping at the prep stage and handing it to a pro. If you’re not sure which camp your project is in, come see us first. Our Mountain View Showroom has full-scale stone walls, fireplaces, and house fronts built right on the floor, so you can see how a tight-fit joint actually reads in real light before you buy. We can pull samples for you to take home, point you to the right stone and the right mortar, and if the job calls for it, steer you to a contractor who installs this stuff for a living.
That’s really what we’re here for. The tight-fit look is striking, and it’s very doable. The trick is just getting the boring parts, the wall behind the stone and the fit of each piece, exactly right.
FAQ
Can you really install stone veneer with no grout?
Yes. It’s called a tight-fit or dry-stacked joint, and it’s one of the standard ways natural thin stone veneer gets installed. Instead of leaving a half-inch grout line between stones, you fit the pieces tightly together so the joints nearly disappear. There’s still mortar bonding each stone to the wall behind it; you just don’t see it on the face. The look depends entirely on the fit, so it takes more patience than a grouted install, but the materials and the basic method are the same.
Do I need metal lath if I’m installing over concrete or brick?
Not always. Clean, untreated, unpainted concrete or block can usually take stone directly. You need a weather-resistant barrier, metal lath, and a scratch coat when you’re going over wood or steel framing, or over any surface that’s been painted, sealed, waterproofed, or troweled too smooth to bond, including a lot of existing brick fireplace faces. When you’re not sure, prep for lath. It’s cheaper than pulling a failed wall back off.
Can I do a tight-fit veneer wall outdoors here in the Bay Area?
You can, and natural stone handles our climate well, but exterior walls come with rules that interior ones don’t. You’re into code territory: two layers of water-resistive barrier over wood sheathing, a weep screed at the base, and the stone held a few inches up off the ground so water can drain. Outdoor and structural work in a seismic area is also where we’d most often suggest a professional mason. If you’re weighing an outdoor project, stop by the showroom and we’ll talk through whether it’s a DIY job or one to hand off.
Visit Peninsula Building Materials’ Mountain View design center to see tight-fit and dry-stacked stone walls in full-scale installations on the showroom floor. Yards in Redwood City, Santa Clara, San Martin, and Livermore. Serving Bay Area homeowners, designers, and contractors since 1923.